
For photographers
How to upload your shoot
After the visit, send the files from the job in photoplan.ai. Photographs, floor plan sketches, 360 images and walkthrough video each have their own step, and only the steps on that booking appear.
On the day you shoot
Three clicks to the upload
Sign in with the photographer account the office created for you.
- 01
Sign in
Open photoplan.ai and sign in with the account the office set up for you. The address app.photoplan.ai is the same place.
- 02
Open My Jobs
My Jobs lists your assignments. The Upload column appears once a job is booked.
- 03
Open Shoot upload
Choose Photos, or Photos & sketch when the booking includes a floor plan. On the job itself the button reads Upload photos, or Upload photos and floor plan sketch.
Shoot upload
What the job shows
The page is headed Shoot upload. Numbered buttons along the top match the booking: Photographs is always first. Floor plan sketch, 360 tour and VideoMotion follow when they were booked. ImageMotion, when it is included, is made by the office from the photographs you send.
Drop files onto a box, or click the box and choose them from your computer. Wait until each preview appears, then press that step’s Send button and read the confirmation before you move on.
Photographs
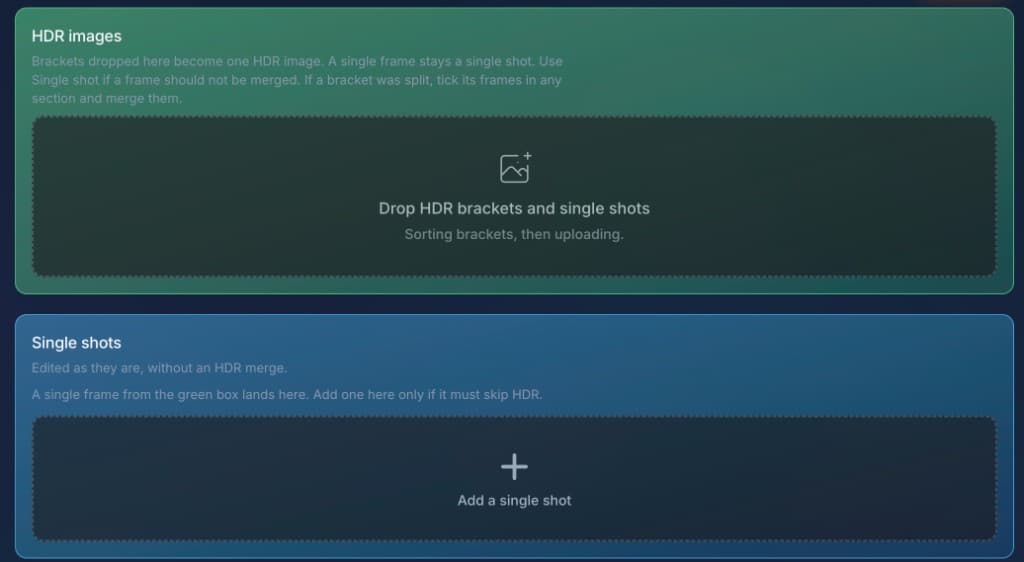
Drop JPEG, PNG, TIFF or RAW files into the green box, Drop HDR brackets and single shots. Shoot 3 to 5 exposures for each HDR image. Frames taken within 2 seconds are grouped into one HDR image. A single frame stays a single shot.
If a bracket lands as separate frames, tick those frames anywhere on the page and choose Merge into one HDR stack. Mark a frame Single shot when it should skip the HDR merge, or drop it straight into the Single shots box.
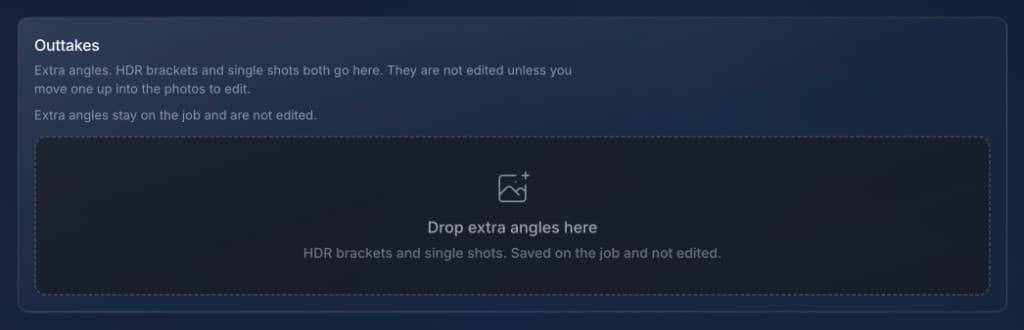
Extra angles go in Outtakes. They stay on the job. The edit uses the HDR images and single shots, which count together toward the number of photographs on the booking. Frames beyond that number are saved as outtakes. Choose Include to move a different angle into the edit set, or Leave out to move one to Outtakes.
On a key-collection job, tick Keys collected before you send. If you are sending fewer photographs than the booking, explain why the property is still covered. Then press the send button. It names the HDR stacks and single shots you are sending.
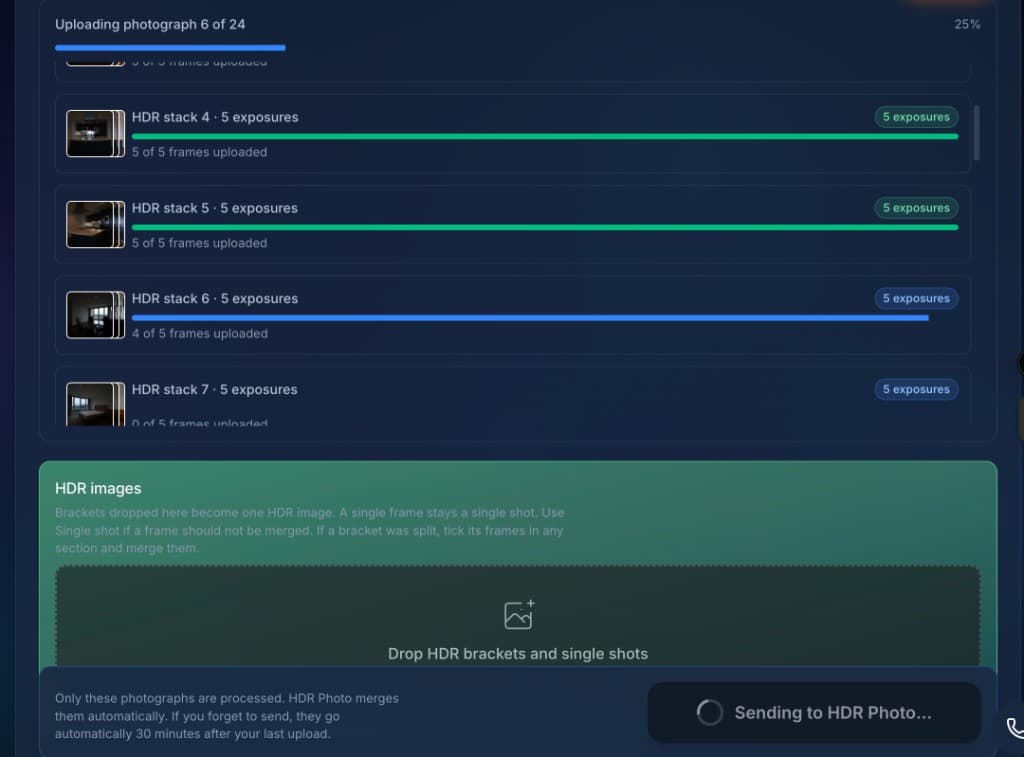
The confirmation tells you HDR Photo has the stacks and QC has the single shots. HDR merging continues after you leave the page. When the count matches the booking, photographs you have uploaded are sent automatically 30 minutes after the last upload if the button was not pressed.
Floor plan sketch
This step is separate from the photographs, and it appears when the booking includes a floor plan. Drop sketches or an existing plan from the visit. Images and PDFs are both accepted. After the first file, use the plus to add another floor.
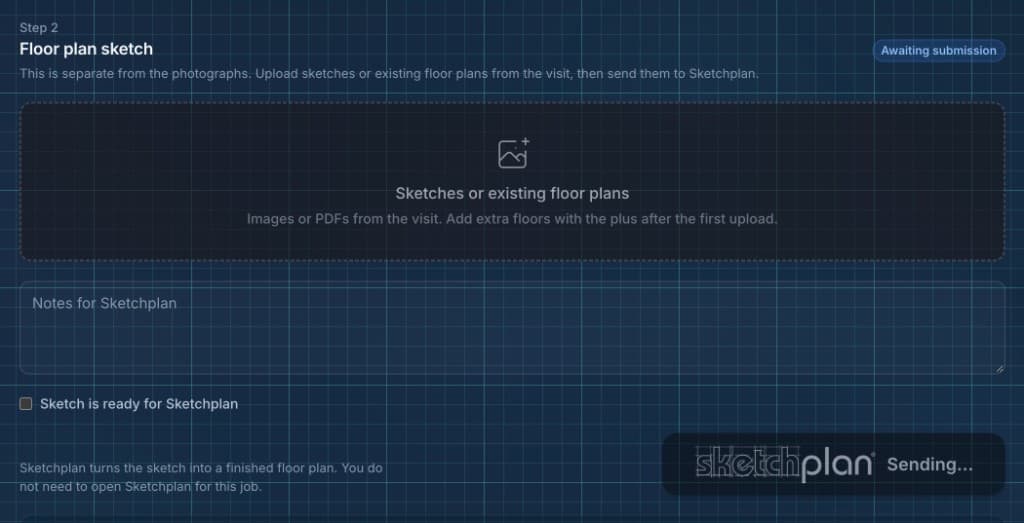
Write notes where a measurement, ceiling height or room name needs explaining. Tick Sketch is ready for Sketchplan, then press Send sketch. Sketchplan draws the finished plan from those files. If the office later asks for a missing floor, you can add it on the same job.
360 images
When the booking includes a 360 tour, open 360 tour and drop one equirectangular JPEG or PNG per room. Add a note for the tour team if a room name or link between spaces needs explaining.
Tick 360 images are ready for 360 Tours, then press Send. The Photoplan team builds the tour. Each panorama can be enhanced after you leave the page, and the images go through once that finishes.
Walkthrough video
When the booking includes VideoMotion, drop the filmed clips as MP4, MOV, M4V or WebM. Put the front door first. Earlier and Later set the order the clips play in.
Add notes for the edit, tick Video clips are ready for VideoMotion, then press Send. The team edits the film from those clips.
Questions
While you are uploading
Stuck on a job? Email hello@photoplan.co.uk or call 0203 384 7766, and include the property address. New to the network? Apply to shoot for Photoplan.