
15 Property Photography Tips That Actually Move Listings
Practical property photography tips from a team that shoots thousands of UK homes a year — composition, light, verticals, and the mistakes that quietly kill portal clicks.
Key Takeaways
- Chest-height camera position and straight verticals separate professional from DIY instantly.
- Expose for the windows — blown-out white rectangles hide the garden buyers want to see.
- The lead image decides the click; choose it like it's the whole listing.
- Preparation (declutter, lights on, blinds level) matters more than camera gear.
- Twilight exteriors and aerial shots are the two highest-impact upgrades for the right property.
We photograph thousands of UK homes a year, and the difference between a listing that pulls viewings and one that sits is rarely the camera — it's a handful of repeatable decisions about height, light and what goes in the frame. Here are the fifteen that matter, whether you're shooting yourself or briefing a photographer.
Preparation: where listings are won
1. Declutter like it's a viewing. Kitchen counters clear, bins gone, pet bowls away, toiletries off the bath. The camera exaggerates clutter — a slightly busy room photographs as a mess. Our vendor preparation guide is worth sending before every shoot.
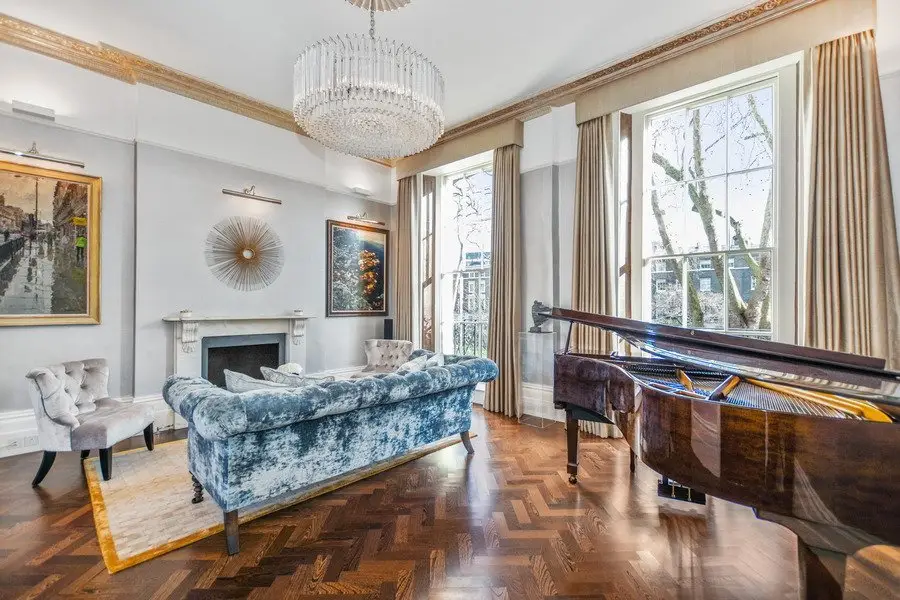
2. Turn every light on. Lamps, under-cabinet strips, the lot. Mixed warm light adds depth and makes rooms feel inhabited rather than vacant.
3. Level every blind, open every curtain. Misaligned blinds are the tell of a rushed shoot. Light in, sight lines out.
4. Clear the driveway. Cars date the photo, block the facade and shrink the plot. Same for wheelie bins — the strongest exterior enemy in Britain.
5. Stage the empty rooms — digitally if needed. Bare rooms photograph small and cold. If furniture has gone, virtual staging fixes the gallery for £30–£60 an image.
Camera craft: the professional tells
6. Shoot from chest height. Roughly 1.2–1.4 metres. Eye-level forces a downward tilt that bends walls; chest height keeps the composition balanced. This one change upgrades DIY photos more than any purchase.
7. Keep verticals dead straight. Door frames and wall edges must be parallel to the frame edge. Converging verticals scream amateur; every professional image you've admired has them corrected.
8. Go wide, not fisheye. 16–24mm equivalent shows the room honestly. Ultra-wide lenses make a box room look like a ballroom — and buyers punish the deception at the viewing.
9. Shoot from the doorway corner. The corner diagonal shows the most floor and two walls, giving depth. Straight-on walls flatten rooms.
10. Expose for the windows. The blown-out white rectangle is the most common DIY failure — it hides the garden, the view and the light the room actually gets. Professionals bracket exposures and blend them (HDR); phone HDR modes are a partial substitute. If you're choosing between editing approaches, our HDR vs flambient guide compares the two main methods.
Selling the property, not just the rooms
11. Choose the lead image ruthlessly. It's the whole listing in one frame: best exterior or hero room, in the best light you can get. Everything else is supporting cast.
12. Photograph the lifestyle features. The log burner lit, the garden table dressed, the view from the main bedroom. Buyers buy the Saturday morning, not the square footage.
13. Order the gallery like a viewing. Exterior, hallway impression, main living, kitchen, bedrooms, bathrooms, garden. A random order makes buyers work; a walkthrough order makes them imagine.
14. Add a twilight exterior for premium stock. Dusk shots with interior lights glowing out-click daytime exteriors dramatically — the highest-impact single upgrade for the right house.
15. Add aerial for plot and position. Where land or setting sells the property, one drone image answers the questions every buyer asks first. The case and costs are in our aerial photography guide.
When to hand it over
Phone photography, done carefully with the rules above, is workable for rentals and budget stock. For sales instructions the gap still shows — HDR window exposure, corrected verticals and consistent editing across 20 images are what a professional shoot buys, usually for £100–£200 and often bundled with the floor plan in one visit. Given the lead photo decides the click that everything else depends on, it's the least speculative money in property marketing.
The bottom line
Great property photography is a checklist, not a talent: prepare the rooms, shoot chest-high with straight verticals, protect the windows, and lead with your best frame. Do those every time and the gallery stops being the reason a listing underperforms.
Photoplan delivers professional property photography nationwide — HDR interiors, twilight and aerial options, portal-ready within 48 hours.
Frequently Asked Questions

The Photoplan Team
Property Media Specialists
The Photoplan team produces property photography, floor plans, tours, video and CGI that help estate agents, developers and commercial clients market property beautifully.
Rather have it shot professionally?
Photoplan photographs homes nationwide — HDR interiors, corrected verticals and portal-ready edits, often combined with floor plans and tours in one visit.
Estate agents book through the app · One-off customers order in the shop · or contact us
Related Articles
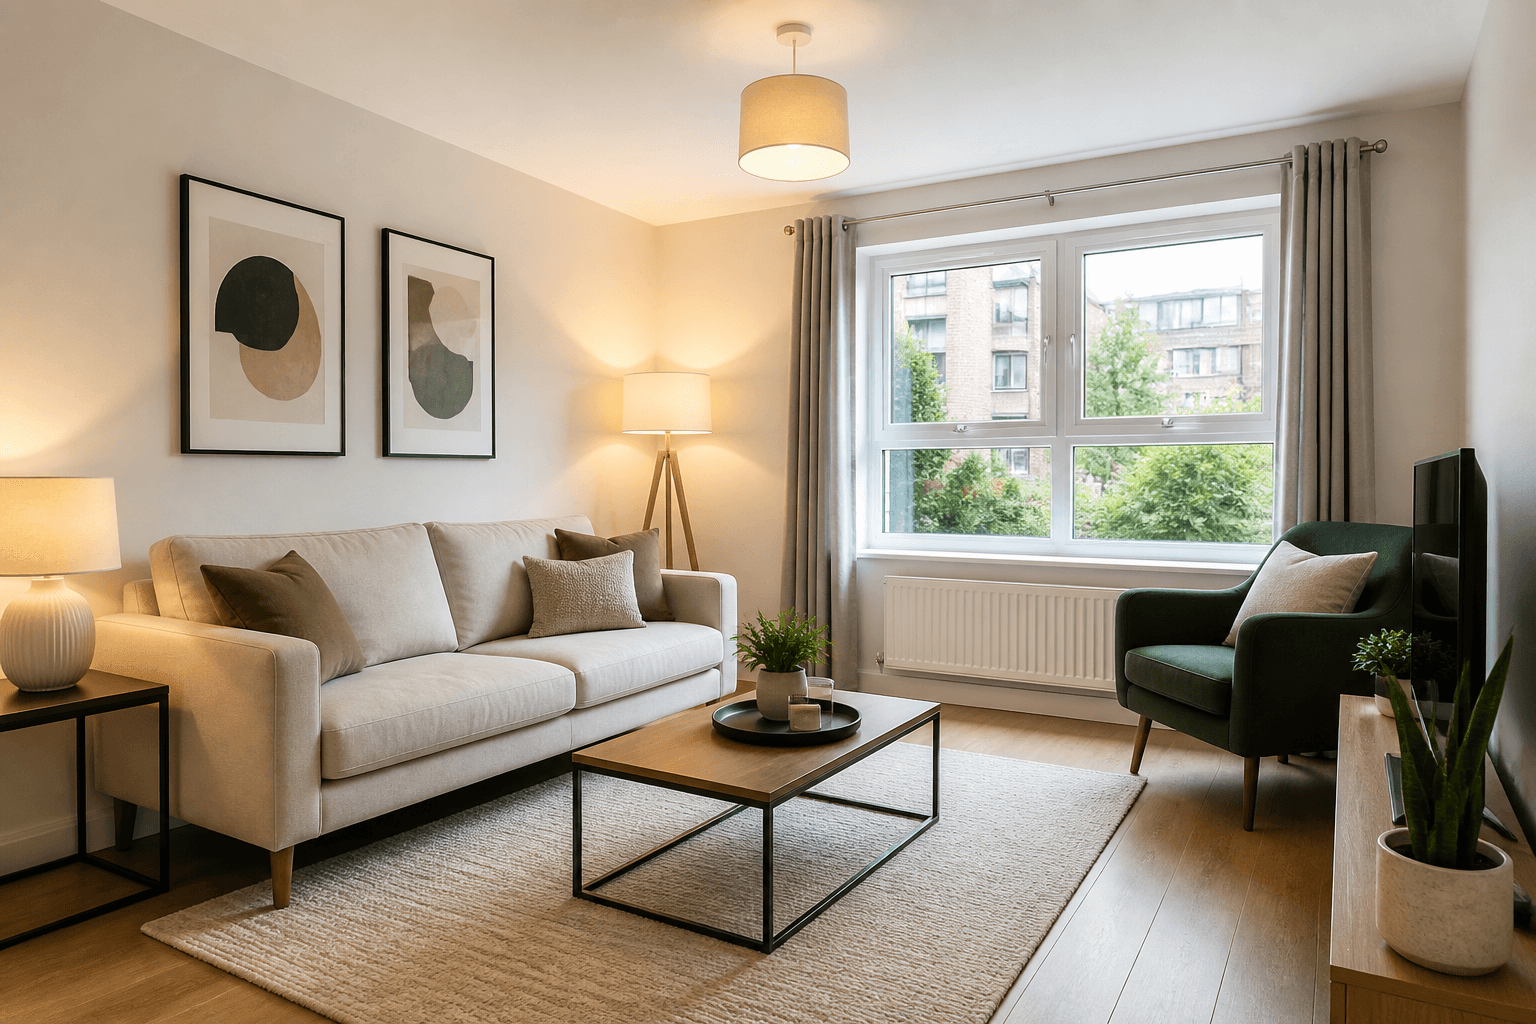
Lettings Photography Standards: What Tenants Swipe Past
Tenants decide in a thumb scroll. Here is a practical photography standard for UK lettings — lighter than sales where it should be, never sloppy.
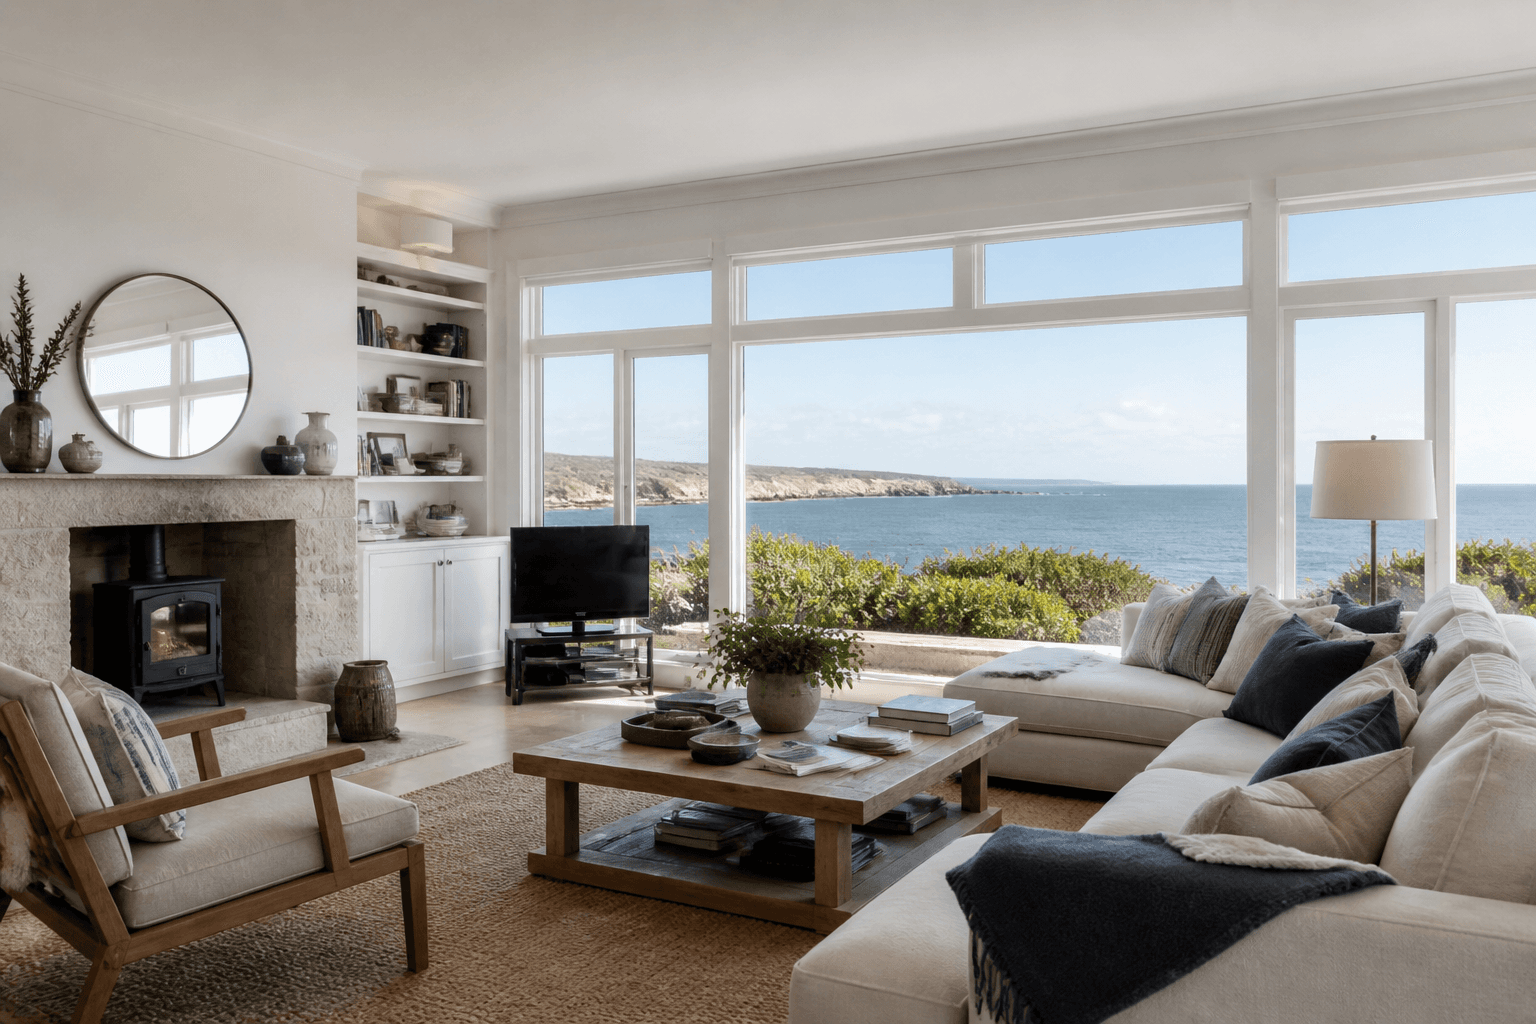
Coastal and Waterside Property Photography: Selling Location Honestly
When the view is the product, average interiors are not enough — and exaggerated views are worse. Here is how to photograph coastal and waterside homes with impact and integrity.
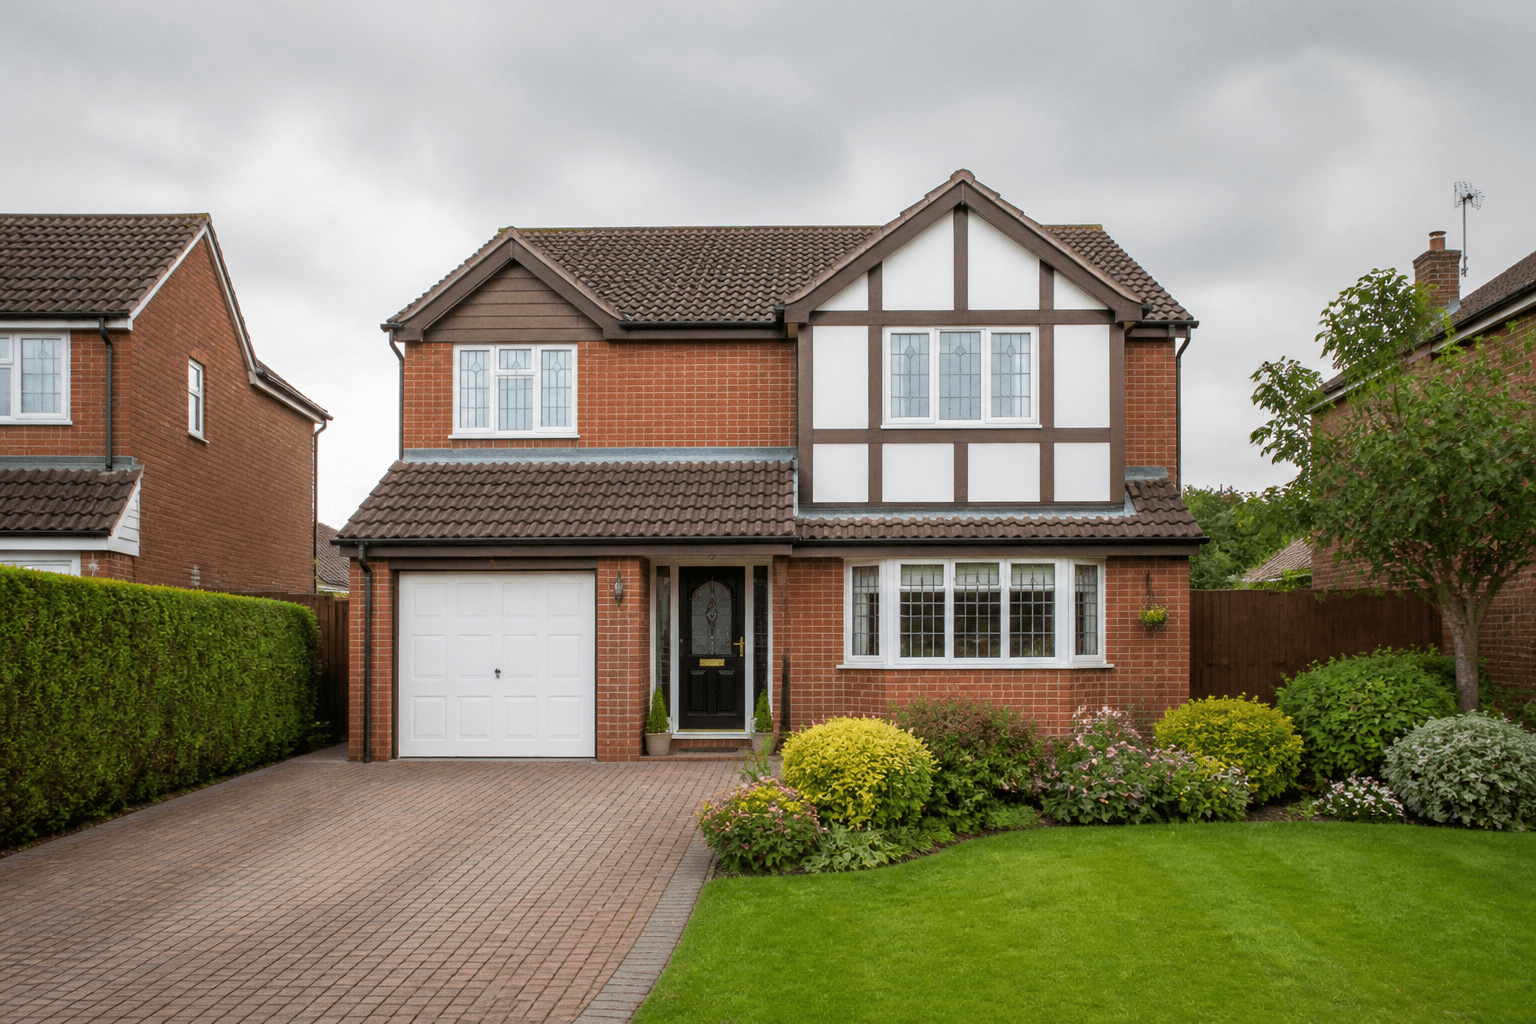
Bad Weather Exterior Shoots: What Estate Agents Should Do
Rain, wind and grey light wreck kerb-appeal photos — and diaries rarely wait for blue sky. Here is a practical playbook for agents when the weather turns.